
iSchoolApps Calendar Events
Description
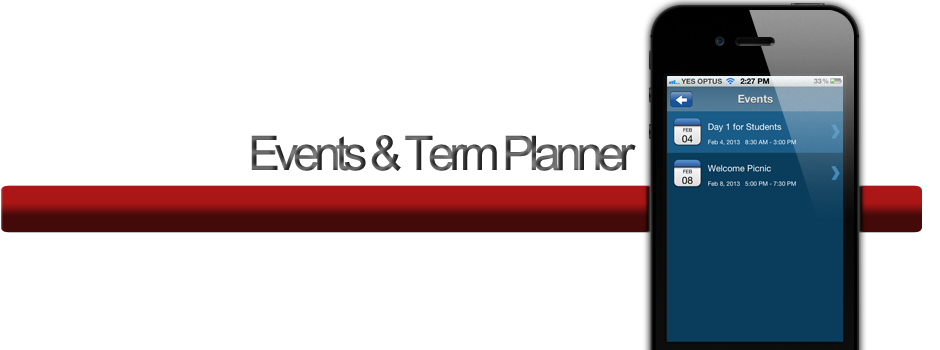
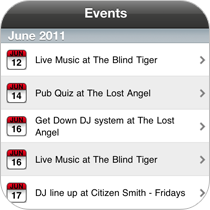
The Events feature in your iSchoolApps CMS is a simple option for highlighting upcoming happenings. Users can save events to their phone calendar so they don’t miss out.
Available on:
- iOS
- Android
- HTML5
Great for these industries:
- Primary School
- Secondary School
- Childcare
Monetization ideas:
- Draw attention to upcoming events your school is participating in or hosting.
- Sell advertising space for other businesses/events in your area by including them in your listings. Assisting the PnC to raise funding for school events.
Related features:
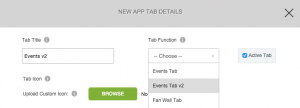
- Events v2 feature
Setup
Navigate to Edit > Build to begin the setup process, then follow the steps below.
1. Click ADD FEATURE.
2. Choose the Events feature from the menu, then click SELECT.
3. Name your feature, then click ADD. Your new feature will now appear in the left-side menu.
4. Click on the feature to expand its menu. From the left-side menu you can:
- use the checkbox to delete the feature.
- click and drag the arrow icon to rearrange.
- edit the feature icon by clicking it, then selecting a new image from the fly-up menu.
- toggle on/off the feature.
- jump to a specific section (i.e. Content or Custom Design) to adjust the feature settings.
Content
Here you can rename the feature, adjust the settings, and add events.
1. Under Screen Info, change your Screen/Feature Name or leave as-is. This is the name that will appear in the app’s feature menu (e.g. “Tour Dates” as opposed to “Events”).
2. Under Settings, check the box to enable specific options.
- Auto Deactivate: Your events will deactivate (stop appearing in the app) automatically two weeks from their start date.
- Sort Events By: Select Date/Time to display events in chronological order or Manual to display them in the order they appear in below.
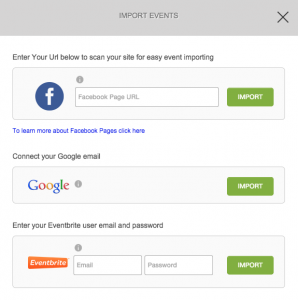
- Under Events, click ADD SINGLE EVENT or ADD RECURRING EVENT. Complete the the fields below, then click ADD. Repeat this process for each event.
- Single Events: Use this option for one-time events or those that do not recur on a weekly basis.
- Color Settings: Enable to use the Global Background & Text Colors instead of custom colors. When disabled, the following settings appear:
- Background: Select the background color for your event description.
- Text: Select the text color for your event description.
- Time Zone: Enable to use the Global Time Zone located in your Settings area instead of a custom time zone. When disabled, use the dropdown menu to select the appropriate time zone.
- Event Start & End Date/Time: Use the two fields to select the start & end times (in 24-hour format) for your event. The time format users see within the app will depend on their device settings.
- Event Name: Give your event a name.
- Description: Use the WYSIWYG editor to customize the event’s description.
- Color Settings: Enable to use the Global Background & Text Colors instead of custom colors. When disabled, the following settings appear:
- Recurring Events: Use this option to add an event that recurs on a weekly basis. Keep in mind, when you make changes to existing recurring events, those changes will only apply to new occurrences, meaning you’ll need to individually change each occurrence that has already generated within the CMS.
- Color Settings: Enable to use the Global Background & Text Colors instead of custom colors. When disabled, the following settings appear:
- Background: Select the background color for your event description.
- Text: Select the text color for your event description.
- Time Zone: Enable to use the Global Time Zone located in your Settings area instead of a custom time zone. When disabled, use the dropdown menu to select the appropriate time zone.
- Day Of Week: Select the day of the week for this recurring event.
- Start Time & End Time: Select the start & end times (in 24-hour format) for this recurring event. The time format users see within the app will depend on their device settings.
- Duration: The event duration will automatically calculate based on the end time, and vice versa.
- Event Name: Give your event a name.
- Description: Use the WYSIWYG editor to customize the event’s description. .
- Color Settings: Enable to use the Global Background & Text Colors instead of custom colors. When disabled, the following settings appear:
4. Once you’ve added events, you can do several things within the Events section:
- View Single Events or Recurring Events only
- Edit events by clicking the icon to their right
- Delete a specific event by checking its box then clicking the trash icon
- Delete all events by checking the Select All box then clicking the trash icon
- Click SAVE at the top right when you’re done.
If you’d like create a custom design for this feature instead of using the Global Design, you’ll do so here. Skip over this section if not.